Likes:


originally posted elsewhere:
This is something that once in a while, comes up on the forums and answers are typically given.
However, as good as simple descriptions can be, nothing beats a good step by step guide.
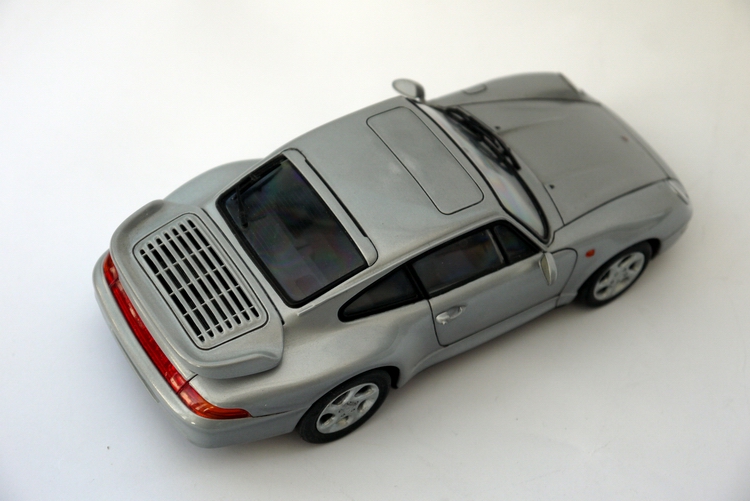
As some of you might know, I build scale model kits of cars in my spare time, things like these:
Part of that process involves a rather painstaking sanding, polishing and finishing on the paint for the bodywork and it is that exact same process that can be applied to acrylic crystals and even metals such as the stainless steel on used on watches.
The harder the material, the more work you have to put in but the process remains the same.
Polishing any material is essentially a process where you remove material to the depth of the scratch you want to remove.
Thus, if you are only removing hairline scratches then you can probably give it a once over with a fine finishing paste of some sort and be done.
If however, it is a deeper scratch, then you will need to sand down the surface until the scratch is no longer there, before finishing.
The question is then about how much finishing you need to do. After all, if you've just taken out a 1/5mm scratch, then that means you've used pretty low grit paper on it (or spent a long time using a high grit one...)
There is actually a "correct" method to this that 1:1 automotive guys follow in which each next step of sanding, is twice the grit of the previous.
If you started with 600 grit, you move up to 1200, then 2400, then 4800 (or similar) and so on.
I buy a lot of older watches, some of which some with acrylic crystals. Inevitably, not all of these are going to be anywhere near perfect and even ones that look good at a distance can actually be full of scratches on the surface. Armed with my modelling experience, polishing out the crystal is often the first thing I do to freshen up a watch, if anything, to give me a better look at the dial.
So how do I polish acrylic crystals?
To be continued.....